Description
As a born-and-raised Wisconsinite with German roots, I’ve grilled hundreds of Beer Brats over the years. This is the method I swear by: soak the bratwurst in beer and onions, boil them right on the grill until plump and tender, then finish over high heat until golden and irresistibly crisp.
Easy, hands-off, and wildly delicious—the juiciest grilled brats of your life. No stove, no split casings, just big-time beer flavor in every bite! 🍻
Ingredients
Scale
- 1 pound bratwurst (4-6 sausages)
- 1 medium yellow onion, sliced
- 24 ounces beer of choice (See Recipe Notes)
Instructions
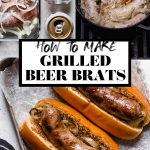
- Soak the brats: At least 12 hours before grilling, combine the bratwurst sausages, sliced onion, and beer in a large resealable bag or airtight container. Shake to combine. Refrigerate for at least 12 hours, up to 24 hours.

- Prepare your grill for zone grilling, creating a zone of direct high heat and a zone of direct low heat. If using a gas grill, begin preheating at least 15 minutes prior to grilling. If using charcoal, light the charcoal at least 30 minutes prior to grilling. (New to zone grilling? Check out this post for a step-by-step.)

- Boil the beer brats on the grill with indirect heat: Transfer the brats, onions, and beer to a cast iron skillet or heat-safe Dutch oven. Place directly over the low heat zone of the grill. Close the lid and bring to a boil. Once boiling, cook for 10-12 minutes, or until the internal temp hits 145°F. This will take about 20-25 minutes total—keep the grill lid closed as much as possible to retain heat.

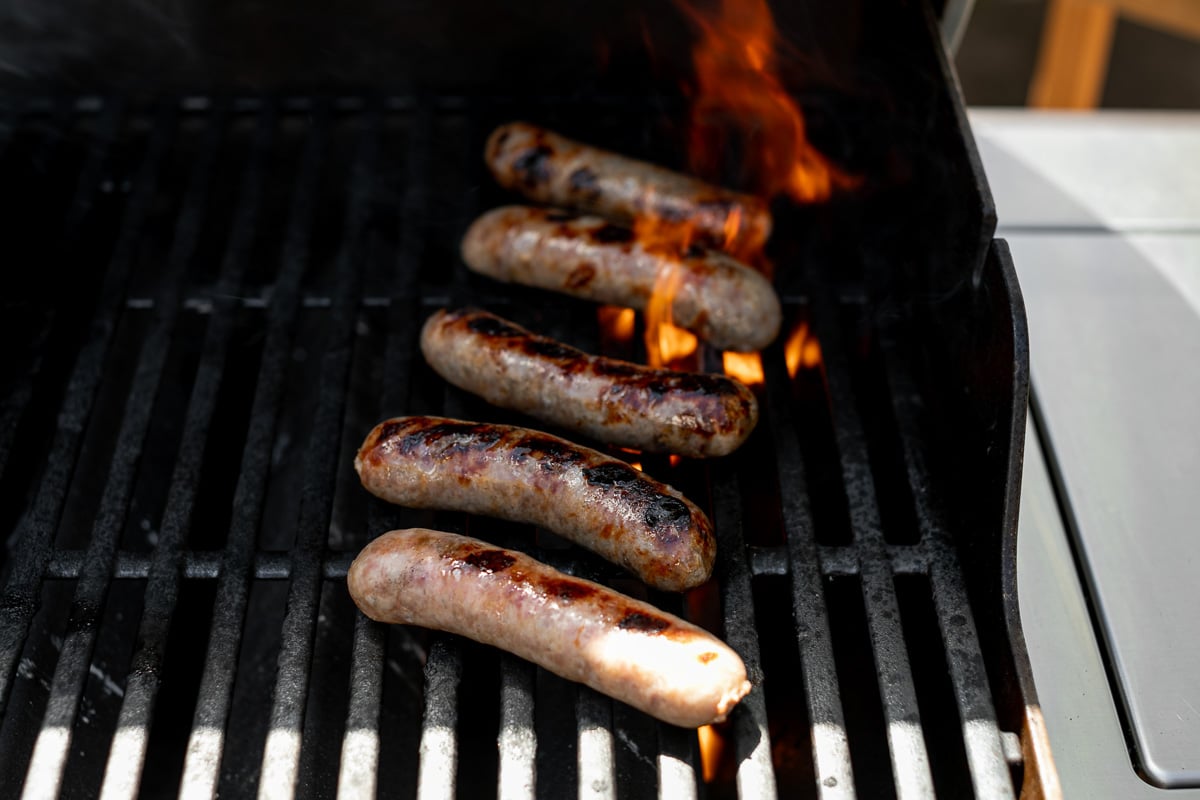
- Grill the beer brats over direct heat: Use tongs to transfer the boiled brats directly to the high heat zone of the grill. Grill for 2–3 minutes per side, until nicely charred and the internal temp reaches 160°F. Transfer to a plate and rest briefly.
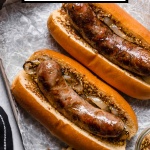
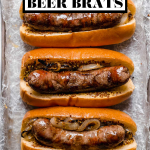
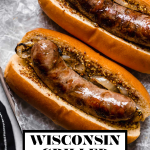
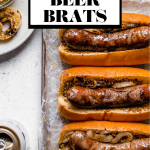
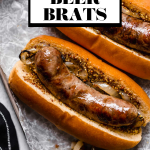
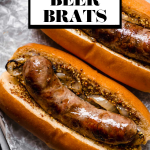
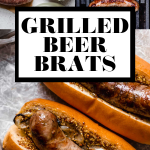
- Serve the beer brats in toasted brioche buns, topped with Dijonnaise, beer-braised onions, sauerkraut, and/or mustard. Enjoy!


Notes
- Best beer for beer brats: I like to keep it simple and use a light Wisconsin lager or ale (PBR, Miller Lite, Spotted Cow, etc.). I find the lighter flavor doesn’t overpower the flavor of the brats. Feel free to use your beer of choice!
- Boiling tip: This recipe boils the brats directly on the grill in a cast iron skillet or Dutch oven, but you can also boil them on a side burner or even on your stovetop if that’s easier!
- Best brat buns: Soft brioche buns are my go-to—pillowy and tender, but sturdy enough to hold up to a juicy brat and plenty of toppings. They’re easy to find at most grocery stores these days—I often grab them at ALDI in the summer!